

We’ve shown you how to build website pages with Elementor, so now it’s time to talk about the other side of the WordPress content coin: blog posts. Before you groan, “Crystal, do I really have to blog for business?” the answer is of course not. Nobody is making you do anything! But you’ll be missing out on some serious benefits:
- Blogging is über important for keeping a website relevant. When you update your website, you remind Google and other search engines that you exist..which prompts them to let other people know you exist via search results.
- Forget waiting for the media to cover you. Having a blog on your website gives you your own publishing platform! Use it to keep your customers informed about changes to your business, upcoming sales and events, new product launches, etc.
- Show off your expertise in detail–way beyond what you can do in your website pages. Website users are savvy. They know that your blog is the place to discover the way your mind works, what topics you understand deeply, and whether or not you know your stuff.
- Give your social media followers a place to land. Use your blog to fuel your messages, and invite your community back to your website so that you can *gasp* convert them to a full-fledged customer.
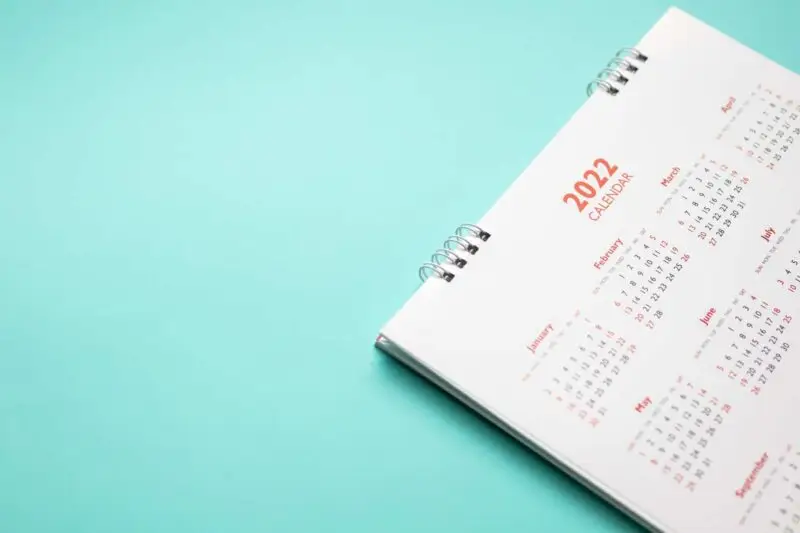
Does it feel overwhelming to think about all of this? The solution is simple: develop and maintain an editorial calendar. We wrote a blog post about how an editorial calendar makes it E A S Y to blog consistently and in a way that you love.
Let’s talk about HOW to use your WordPress blog
So you’re ready to post a blog on your website: now what? To create your blog post, we recommend using WordPress’ new native builder, Gutenberg. (We had hoped it was named after the actor Steve, but instead it’s named after the inventor Johannes, who created a movable type printing press over 500 years ago. Seems fitting.)
Gutenberg has embraced the idea of using “blocks” which is why I’ll refer to it as the “Block Builder” for this article.
When the Peanuts gang called Charlie Brown a blockhead, it was an insult. But for us, it’s a compliment! So get ready to become a Blockhead with the WP Block Builder.
First, an overview of the Block Builder and the block types
Log into your website’s WordPress dashboard. See that left-hand sidebar? Look for the word “Posts” and click “Add New.” You’ll be instantly transported into a fresh, blank blog post that’s ready for your knowledge drop.
Remember, this builder uses blocks to create blog posts. What are these blocks, anyway? It’s helpful to think of them in terms of their function or purpose. For example:
- Paragraph Blocks are for text
- Heading Blocks are for text headings (think H1-H6)
- Image Blocks are for a single image
- Gallery Blocks are for multiple images
There are a lot more options than that, of course. Take a look at these images to see what I mean:
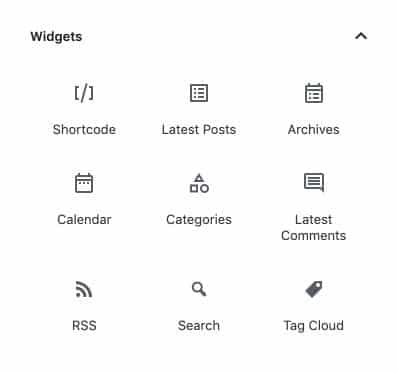

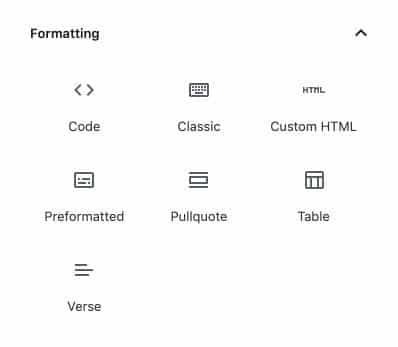
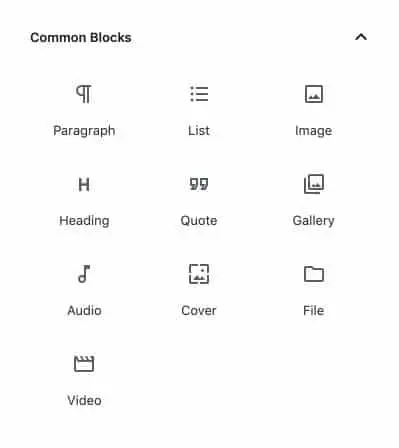
Source: Elementor
Your post will probably consist of several blocks. Say you have two paragraphs and a photo–that’s 3 blocks, stacked on top of each other. Note: whatever order you put them in–that’s how they’ll display on the published post.
This mini-video from WordPress showcases how the blocks come in various types, and how they can be quickly added, stacked, and adjusted.
Source: WordPress
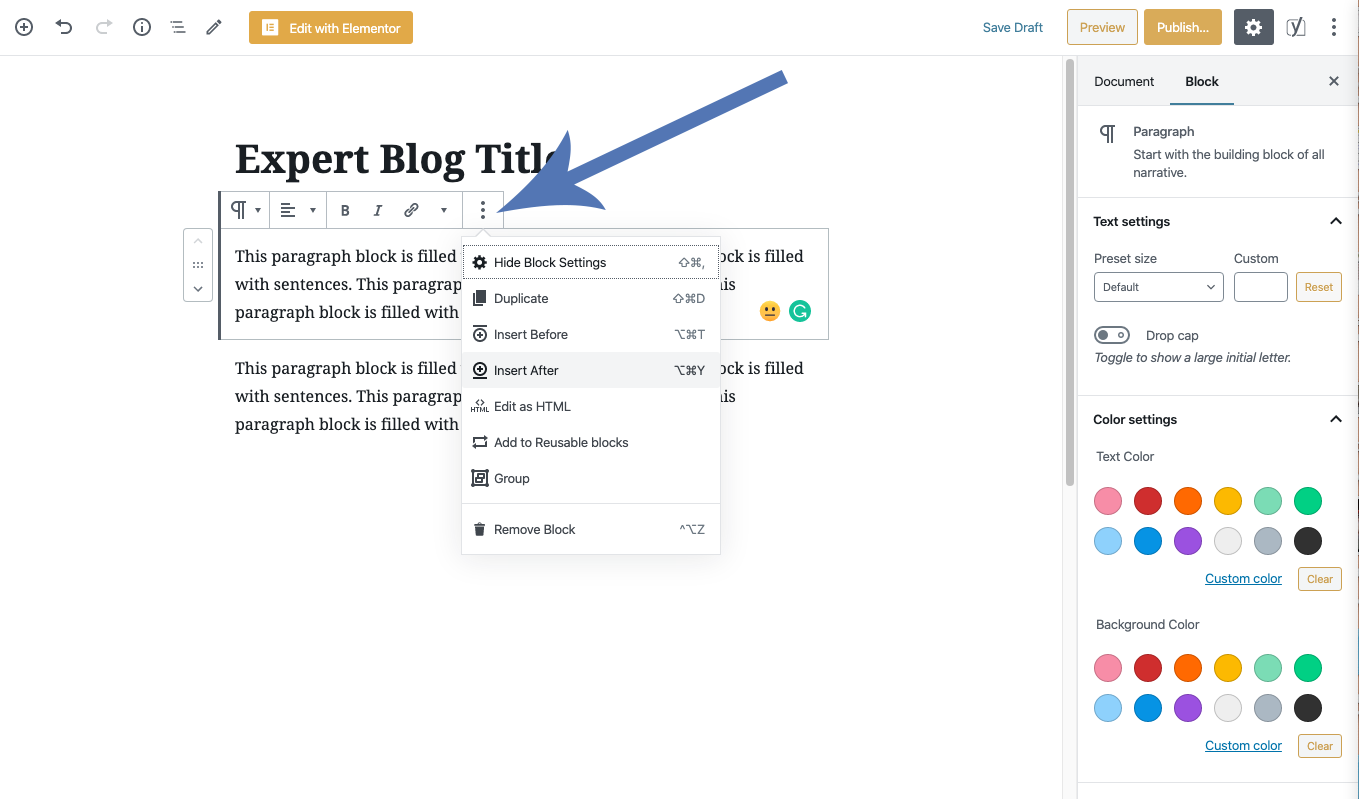
Understand the anatomy of a block
With each block type, there are a number of settings and formatting options that apply to the individual block.

Source: WordPress
- The Block’s Toolbar has formatting options (for example, alignment and font embellishment)
- The Block’s Content is where the text, images, videos, audio–you know, the content–will go
- The Block’s Settings Sidebar is in the right-hand panel and vary based on the block type, which we’ll break down shortly
Since there are a number of block types, explore! You’ll probably find a few favorites that you use over and over again, but be sure to look around to find them.
Ready, set, go: Build your blog post
So you know there are blocks, you know there are settings for each one. Now let’s get started. We’ve got a blank screen in front of us, and the first thing to enter in is the Title!
Then, start typing.
That’s right! You can simply start to type and a Paragraph Block will automatically be created for you. Each time you hit “enter” to create a new paragraph – the Block Builder will automatically move you into a subsequent Paragraph Block.

The WP Block Builder will automatically create Paragraph Blocks for you as you type. But you can also intentionally add blocks, say for images or videos. There are a couple of ways to do that.
- To add a block to the bottom of the page, you could click the “+” symbol in the upper left corner of the content screen (above the title).
- To add a block in between blocks that are already on the screen, you can hover over the space between the blocks and you’ll see a “+” symbol there to press.
- Additionally, you may see a “+” symbol near the left side of the content, as well as at the bottom of the content.
Basically, look for a “+” sign.
Source: WordPress
Once you add a block, it will prompt you on how to fill in the content. An Image Block will suggest you add a media file. Video blocks will ask for the YouTube link or Vimeo Link. And the list goes on…
Look inside the Block’s Toolbar for formatting options for your content. However, you must PROCEED WITH CAUTION. Your website probably has a number of existing settings that work together to create the branded look of your entire website. Any changes you make inside a Block WILL override your sitewide settings. The tweaks could (unintentionally) make your site look cheap.
If you’ve applied lots of necessary formatting to a block that you’d like to carry over into a new block–just duplicate it. Or say you want to delete a block. Look for the drop-down menu on the block’s toolbar.
Configuring Your WP Blog Post
You know how you used the Block Settings Sidebar to configure each block? You’ll want to look to that same sidebar to configure the blog post as a whole.
The tab of this panel is called “Document” and no, we don’t know why–you’ll just have go with it even if it puzzles you more than the befuddled heroes of Three Men and A Baby.
This is where you will find a whole bunch of goodies to polish your post before publishing.
You can:
- Set your publishing date
- Select the author of the post
- Select the categories the blog falls into
- Set your Featured Image
- Write up your excerpt (this may or may not be used by your website)
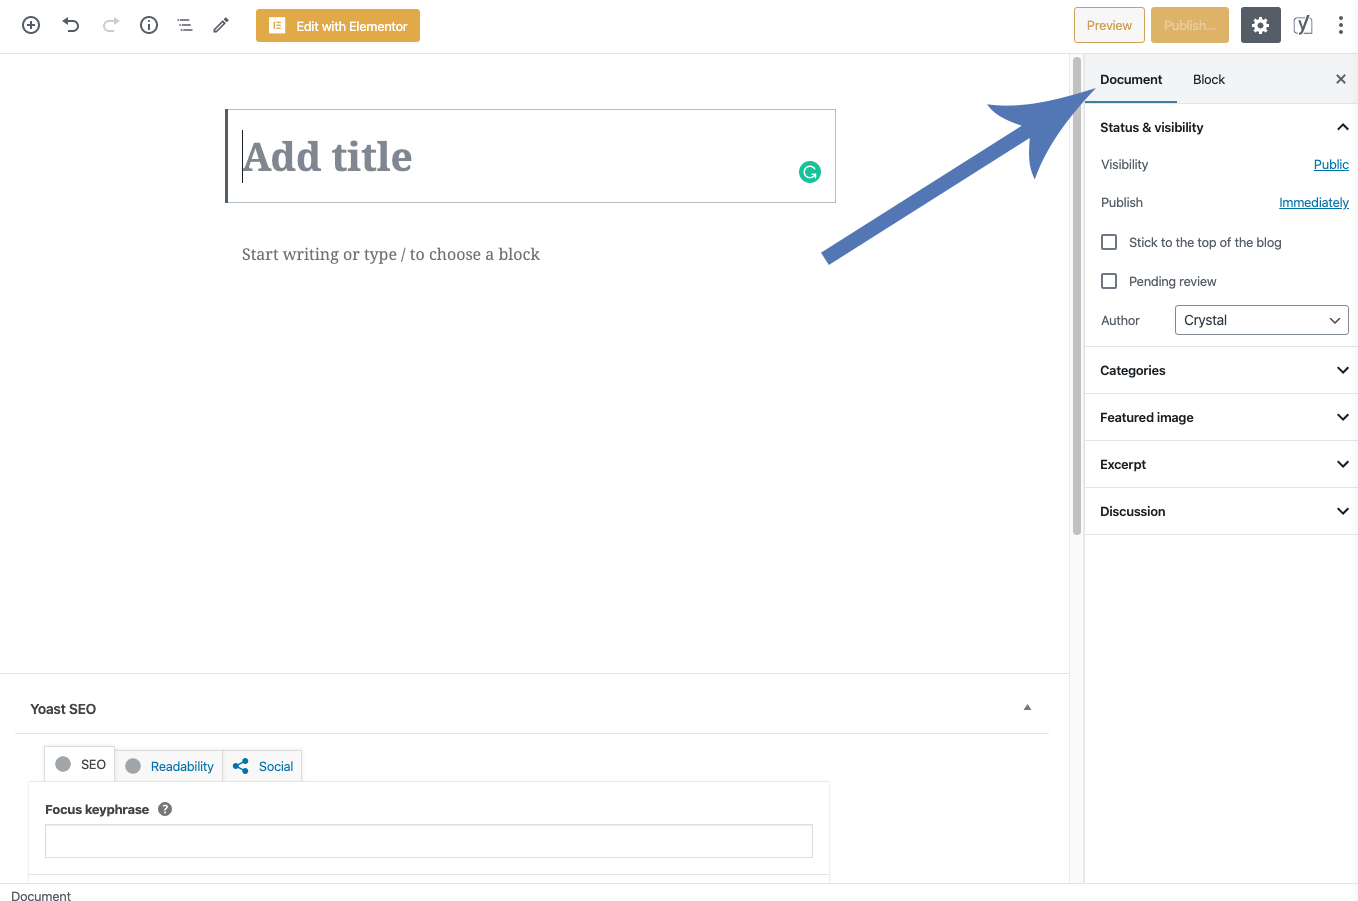
Your Yoast settings are here too. Phew! Below the content area of your blog, you’ll see another setting area that expands and collapses by clicking on the header.
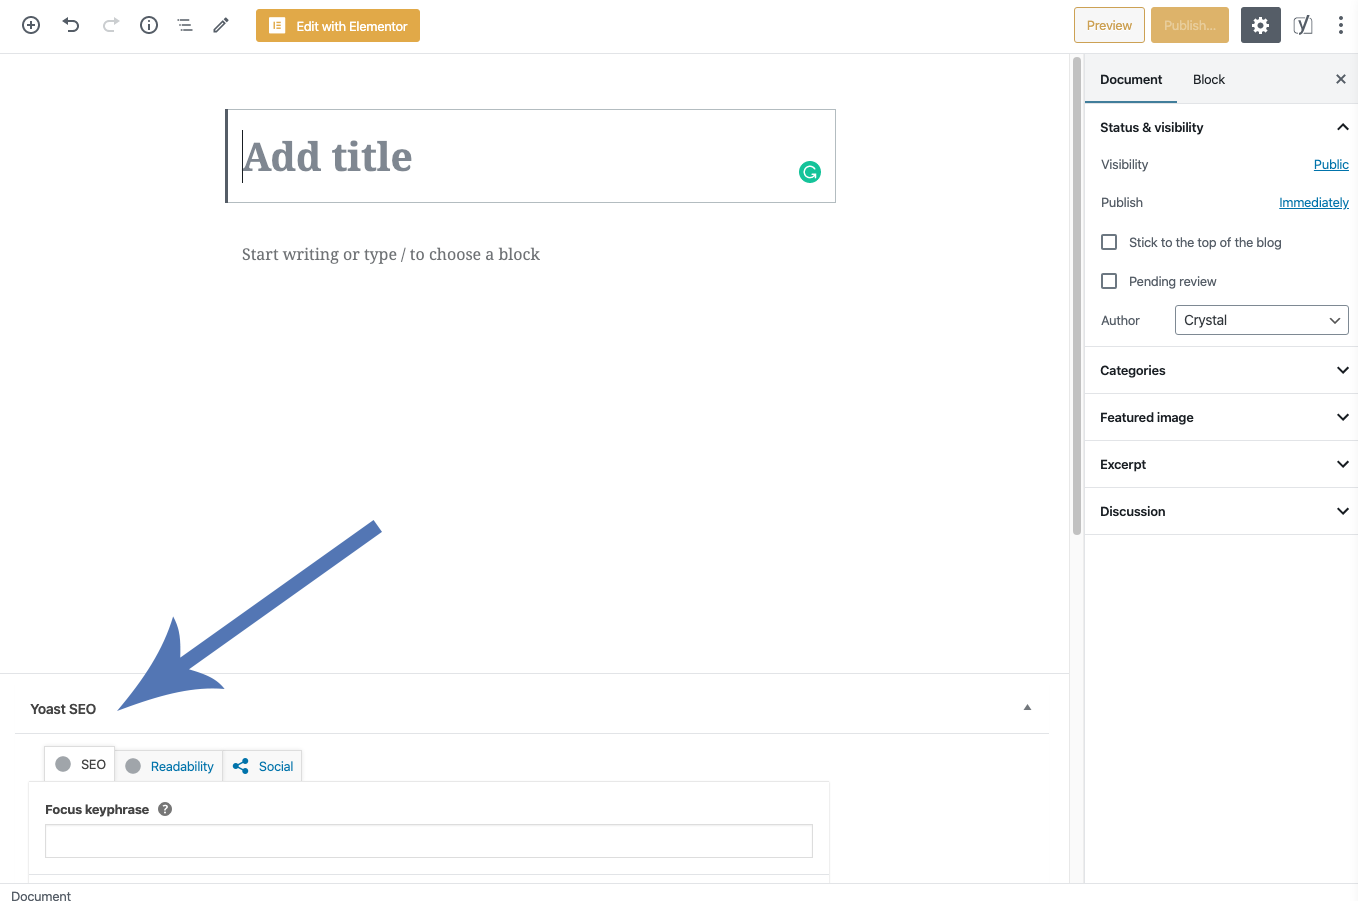
Once you’ve inputted your Yoast information, you’re ready to publish! Click that bad boy Publish button and you’re all set.
Voilà! You’ve created your first blog post using Gutenberg
You’re now officially a “Blockhead”! Of course, the WordPress Block Builder can do much more than the basics I’ve outlined here. The Builder gets better and better with each update, too. Check out this blog post from the WordPress website to learn more about the features and updates for the Builder.