* This post contains affiliate links
At Marketing Queen, we love all things digital. We use WordPress to build our websites, Google Analytics to help our clients measure success, and Asana for project management.
So it might surprise you to learn how much I love using an Inkwell Press Planner to plan my week and run my business! What can I say? Digital planning tools don’t satisfy my creative side the way good old-fashioned paper and pen planning does.
And, research shows writing things down by hand helps you remember them better and helps you generate more ideas – the very essence of creativity.
Why I Use an Inkwell Press Planner
I’ve been using an Inkwell Press Planner specifically for five years because I LOVE:
- Being able to write things down at a moment’s notice. My mind is constantly moving, and waiting for an app to load slows me down. (Sometimes I even forget what I wanted to write down) Paper and pen gives me flexibility and speed.
- Crossing things off a list. Not only is it satisfying, it’s how I track my WINS! No matter how long that to-do list is getting, when I see how quickly I’m crossing things off, I feel like a superstar.
- Setting up my week in a manageable way. As I write my to-dos in my planner, I can begin to organize and group them so I’m not trying to do 20 things in one day. Instead, I can set up five to eight over the next four days. Much more manageable!
- Making my week feel exciting and fun by using colored ink and creative planner stickers! I love writing a list in pretty colors. Using a few stickers here and there makes the most overwhelming or boring tasks feel creative and fun. They make me smile, and that’s all that matters.
If you love being organized and being creative and fun, these are my top 5 tips for using the Inkwell Press Planner.
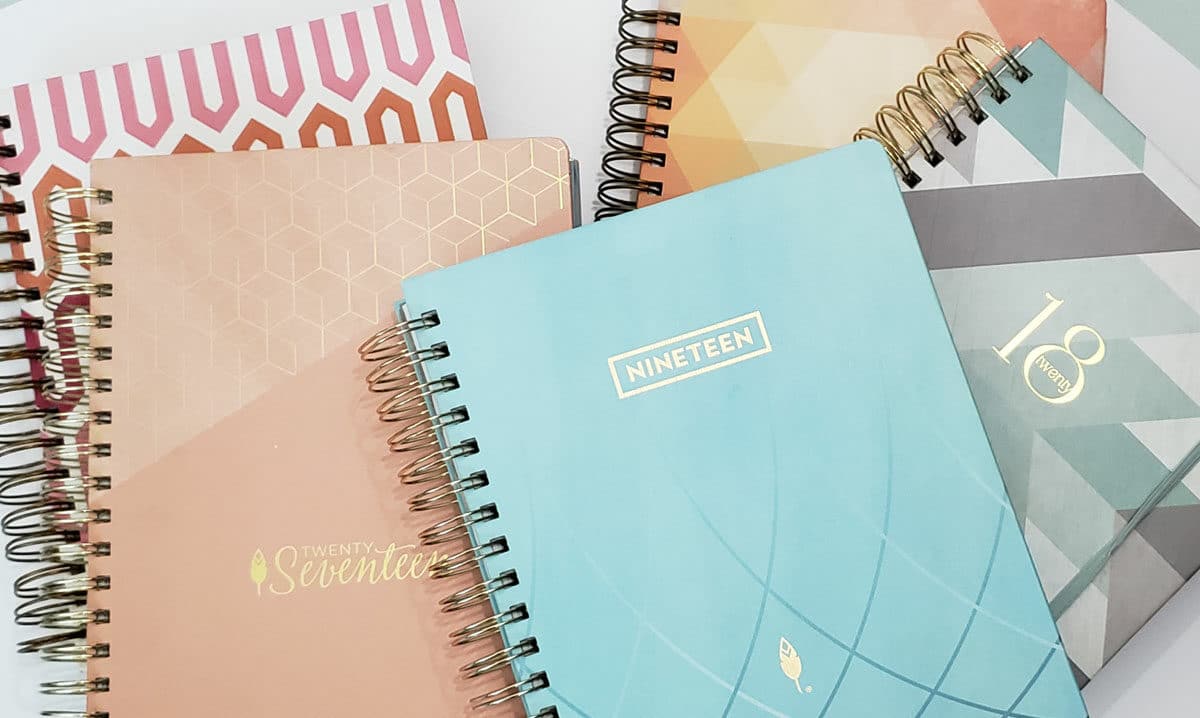
#1: Use the Classic Layout + Washi Tape to Split Your Schedule from Your To-do’s
Inkwell Press Planner’s Classic Layout originally came nice and blank, so I can set it up exactly how I want it.
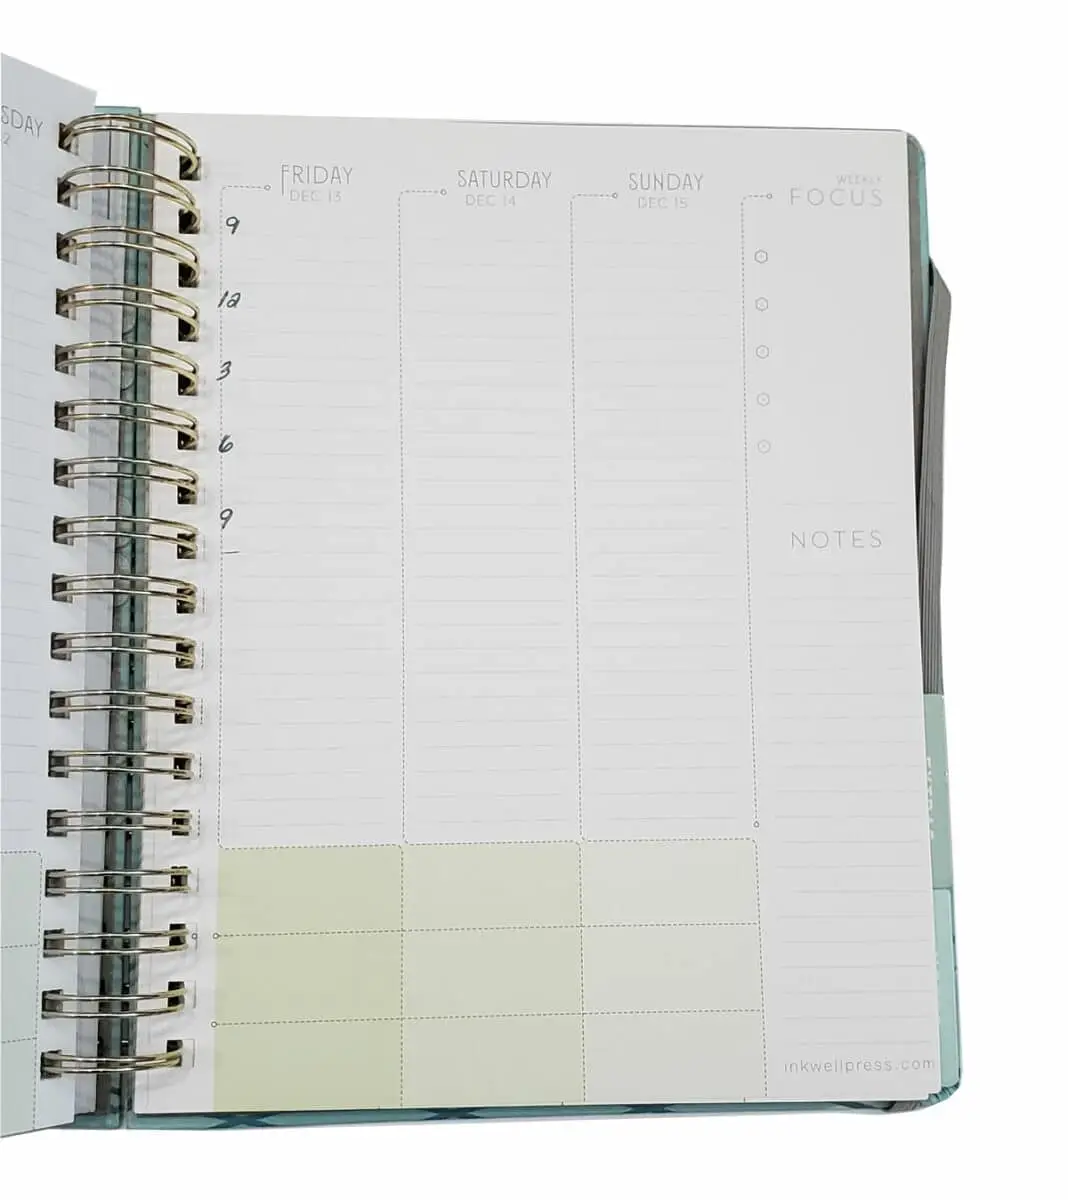
Then I typically use Washi Tape (I <3 Washi Tape!) to separate the top part from the bottom. I use that to partition my days so the top part is my schedule, and the bottom is my to-do list.
- Schedule: I add the times to show one hour per line for a total of 12 hours.
- To-do list: I spread these out to keep this manageable. However, I know I might finish a Monday to-do on a Thursday. Partitioning the page gives me the “grace” in my schedule everyone says is necessary for effective planning.
Starting this year, IWP’s Classic Layout is split slightly differently. Tonya (the owner and founder of Inkwell Press) designed the new layout to echo her own message of how to split up your tasks. She suggests diving them up into Escalate (for urgent tasks), Cultivate (non-urgent yet important tasks), and Accommodate (non-urgent and non-important tasks).
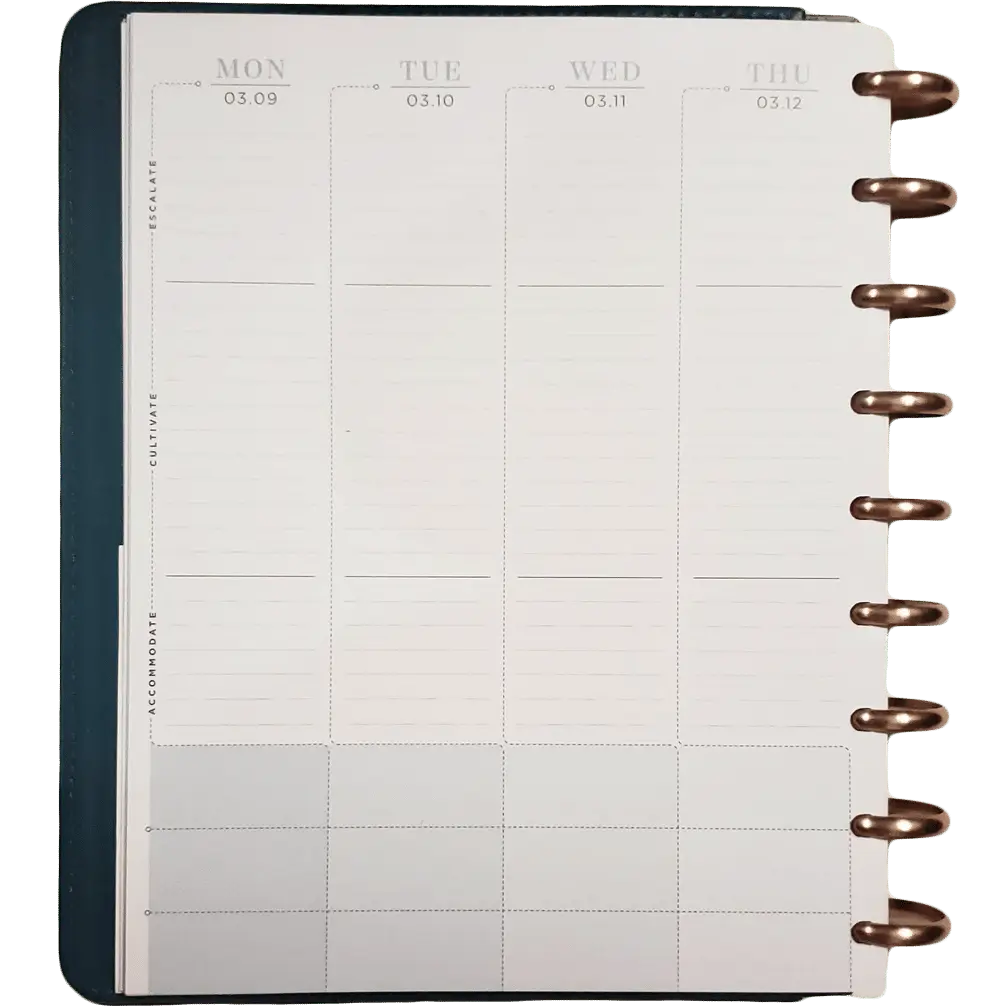
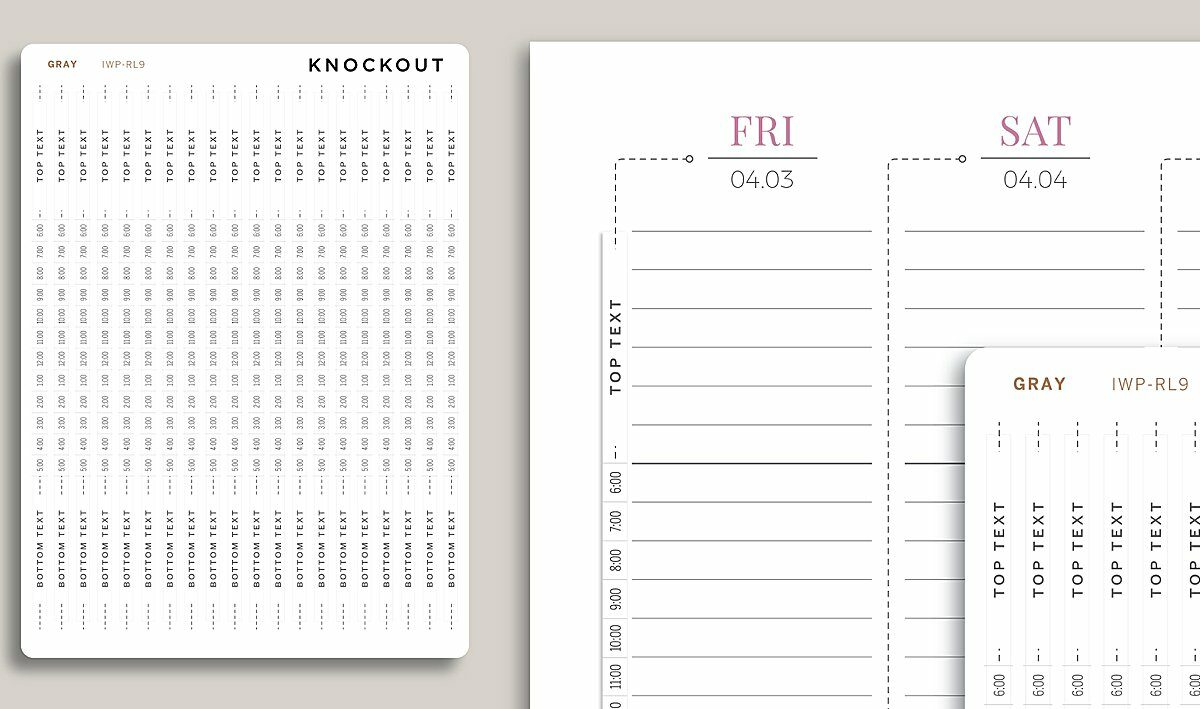
While this is a great strategy, I really like having a timed schedule in print in front of me. If you feel the same, Knockout Print Shop to the rescue!! They have designed stickers specifically for the new Classic Layout that will allow me to cover the current labels AND split my tasks for clients at the top, a Timed Schedule in the middle, and tasks for me personally in the bottom section. Check out that product here! Can’t wait to start using this layout in 2020!
#2: Plan Your Week on Sunday Nights
On Sunday nights I cozy up with my Inkwell Press Planner and colorful pens to write out my week. I use Google calendar for meetings, and Asana for my project to-do list. So I look at both of these to form the backbone of my weekly plan.
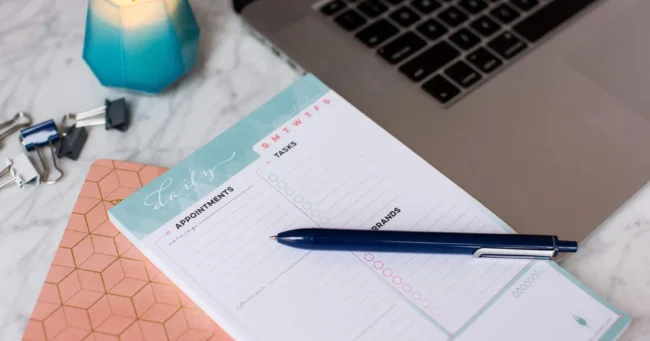
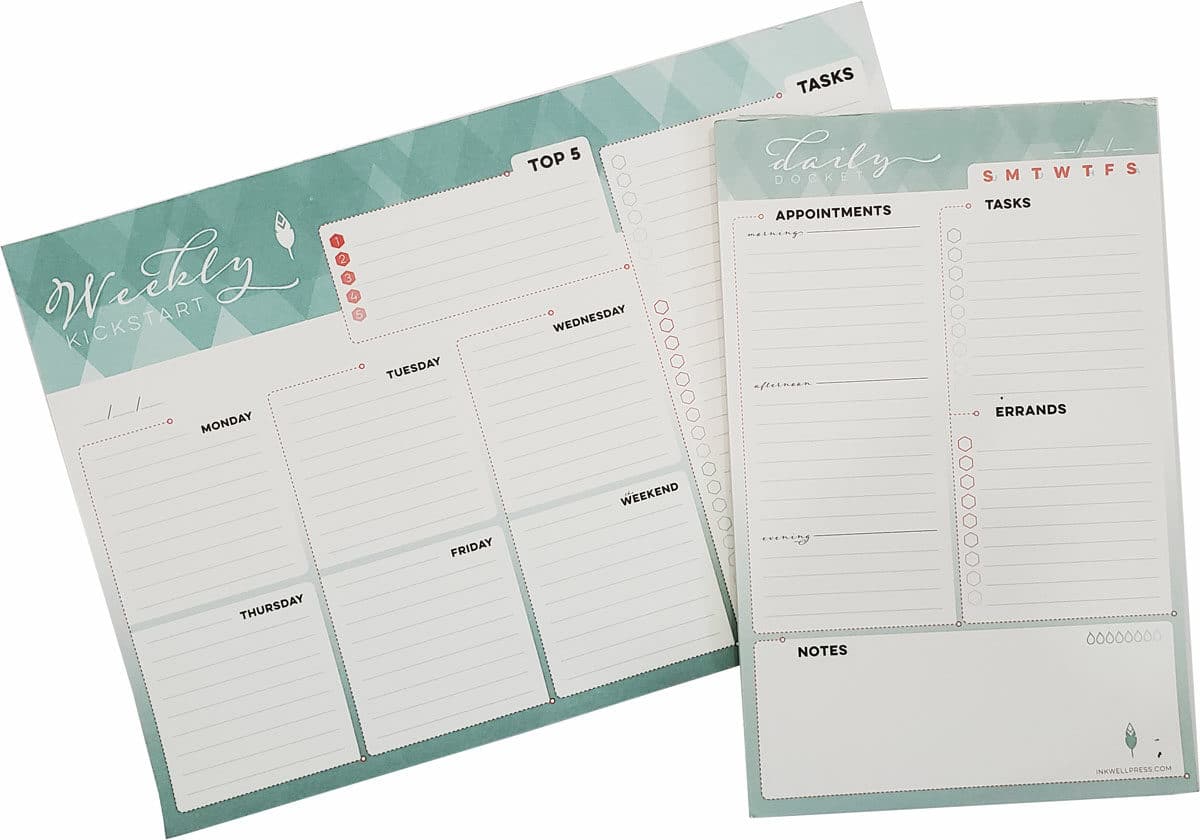
To mix it up a little, I may even opt to use IWP’s weekly planner or daily docket (shown below) to see everything in a glance. If you are looking for more Sunday night planning hacks and productivity tips – may I suggest Tonya’s own podcast Productivity Paradox.
#3: Be Flexible with the Bottom Rows
The bottom boxes are my “free space.” Sometimes I don’t use them at all. Other times, I use them for random notes, dinner notes, and habit tracking, since there’s something to do there almost every day.
The trick is to use a row consistently. So if I want to make random notes, I keep those in the first row, meals in the second row, etc. Knockout Print Shop also makes chic habit tracker stickers and other organizational treats that can be placed in this area. Which leads us to our next tip…
#4: Use Stickers + Embellishments – But Don’t Get Crazy
I mostly use stickers to trick my mind into thinking a boring task is actually cool or fun. But, I find it important not to get crazy with stickers (i.e., use too many of them).
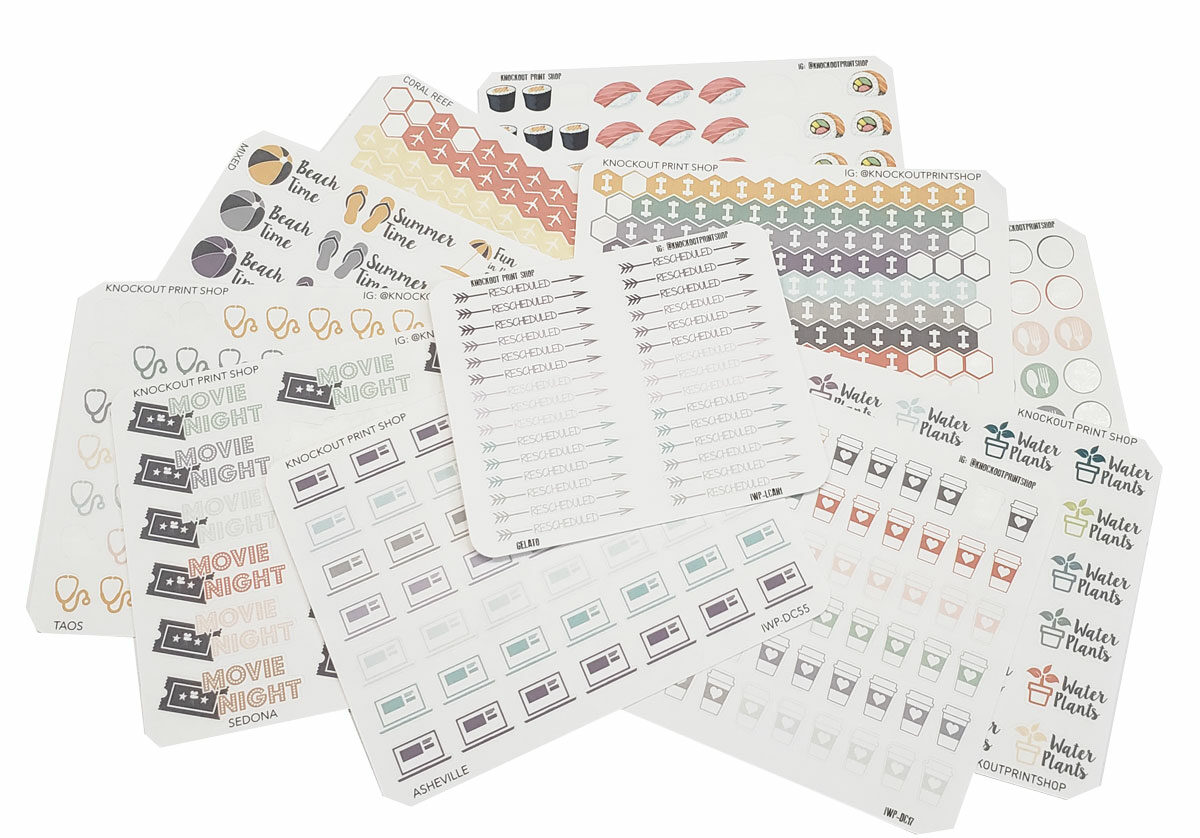
I prefer KnockOutPrintShop stickers because they come in the exact same colors as the Inkwell Planner. The consistent colors please my designer eye while still making me excited for the mundane tasks at hand.
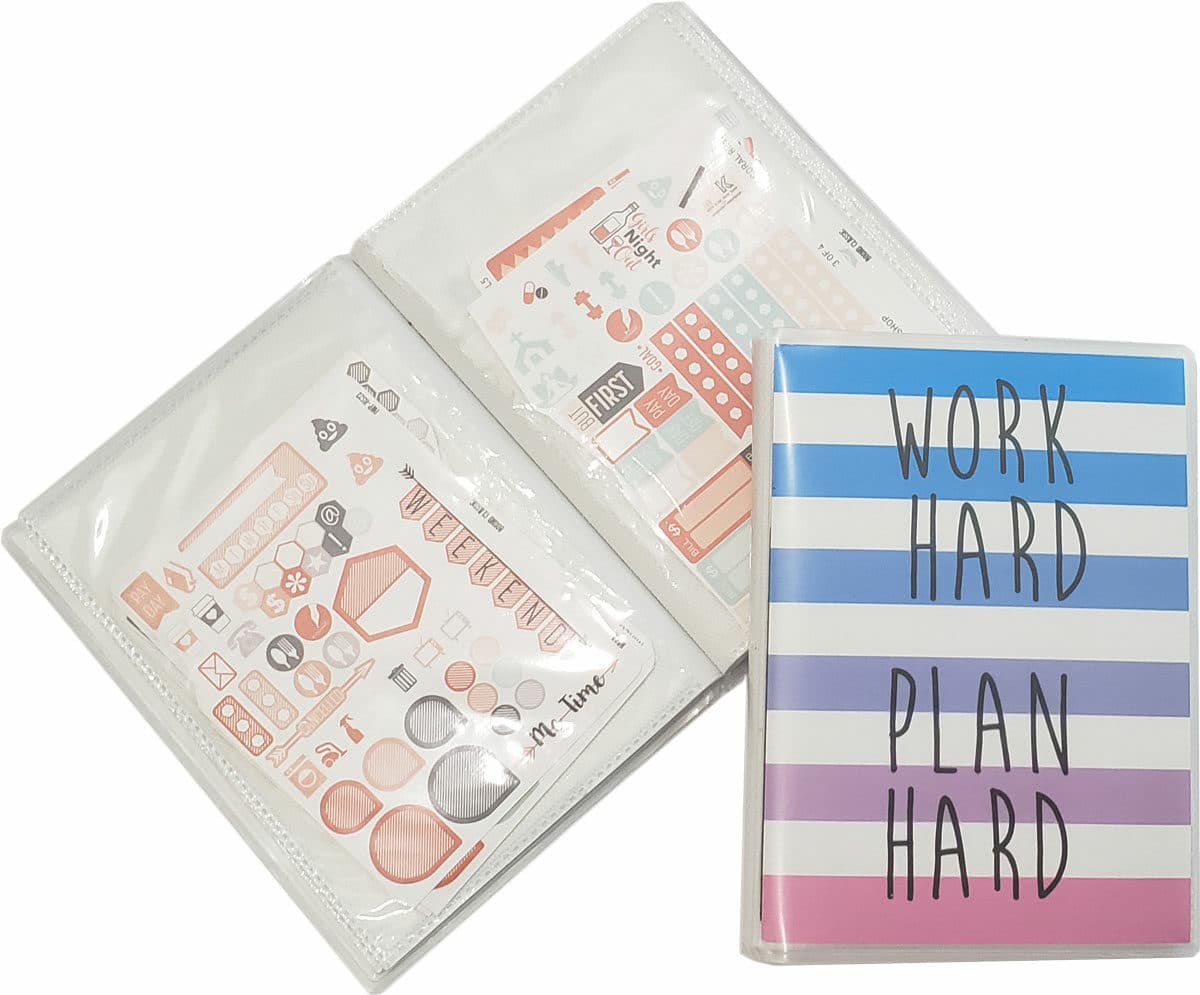
Of course, I need a place to store the stickers I haven’t used yet. I found these fun 4”x6” photo albums (by Etsy seller Oh, Hello Co.) to organize and store my stickers – I can just slip them into one of the clear sleeves. Since I only add stickers during my Sunday planning session, I don’t need them at my fingertips at all times.
#5 Use Colored Pens for Prettiness and Even Deeper Organization
Okay, I use stickers in moderation. But I use colored pens with wild abandon in my planning!
These are my favorite pens:
- FriXion pens: I am currently OBSESSED with FriXion pens, markers, and highlighters. Why? Because they are all erasable. Yes, even the markers and highlighters are erasable. (Where were these when I was in college??)
- Le Pens: These pens write so smoothly and they come in deep, rich colors. They’re very ink-heavy, but somehow manage to be smear-resistant. I use Le Pens sparingly because they’re so ink-heavy. But! Inkwell Press Planner paper is so thick even Le Pens don’t bleed through. (Have I mentioned how much I love the Inkwell Press Planner?!)
- Tul: I like this pen for thin, small writing – which is exactly what you need when you’re using a bullet journal.
- Poppin: Poppin pens also write smoothly and have a thicker line than the other pens I use (including the Le Pens!). I also just like the way Poppin pens themselves are just one-color, solid barrel pens. There’s just something about seeing them lined up next to each other that’s pleasing.
- Pengems: These are just so girly and adorable. The top part of the pen is filled with colored crystals, oh là là! Every now and then I break these out when I have to write a very long to-do list – because they make me smile. (and they look great in a photoshoot!)
Again, consistency is the key to creating deeper organization. Sometimes I use different colors to match different types of tasks. For example, all of my tasks might appear in green. Or, when I’m writing out my schedule, I’ll use purple for personal appointments versus blue for work appointments.
How I Use the Inkwell Press Planner During the Week
Often times, the only things on my desk are my computer, my Inkwell Press Planner, and my suite of beautiful color pens.
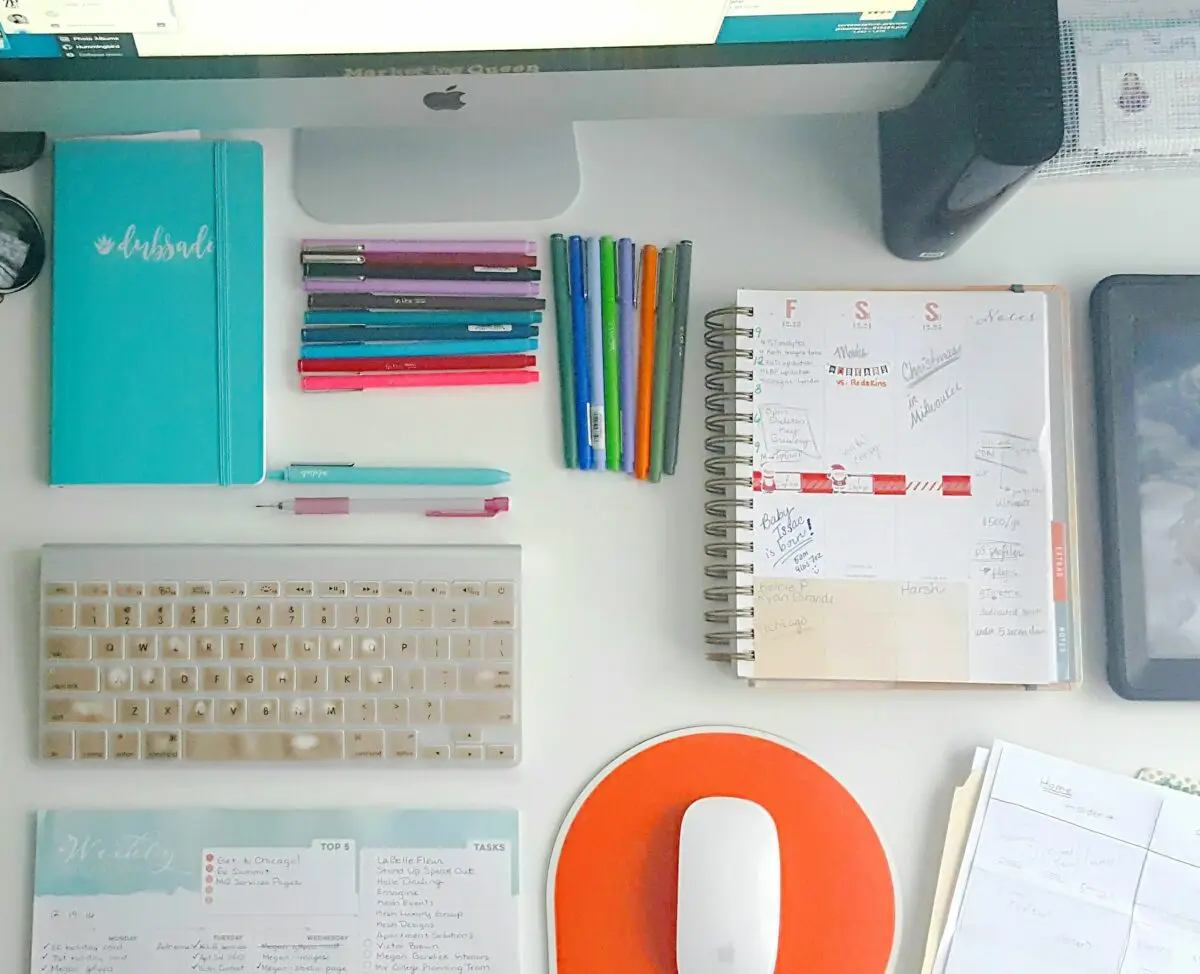
The Inkwell Press Planner comes spiral bound or disc-bound, so I can usually keep it folded (AKA, half-size) on my desk with the main part of the week on top. When I want to look at the weekend, I just flip it over.
And of course, as I complete items from my to-do list, I cross them right off, which always feels like a little “Ahh!” of happiness (and for the more boring tasks, relief!).
Running My Business Is Easier with an Inkwell Press Planner, Period.
Why does using a paper planning tool make it easier to run my business? Because it helps me to see everything at a glance, so nothing falls through the cracks. It’s good for organizing my client tasks but, more importantly, the things I need to do to keep Marketing Queen running (paying bills, sending invoices, renewing subscriptions, etc.).
Plus, the Inkwell Press Planner has features that just make me happy, and happiness is essential when you’re running your own business!
Do you have a favorite planner? Tell me about it – I’m always up to check out more paper goodies!
———————————-
As a reminder, this post contains affiliate links and referral URLs that will help me to earn money from purchases that you may make when clicking through them. Some links are direct with companies that I adore and some are via Amazon. As an Amazon Associate, I earn from qualifying purchases

